When it’s Time to Clean your Makeup Brushes? Here’s How to do it at Home
A Step-by-Step Guide to Keeping Your Brushes (and Skin) Fresh, Clean, and Bacteria-Free
Say Goodbye to Breakouts and Blotchy Makeup with These Easy Brush-Cleaning Tips
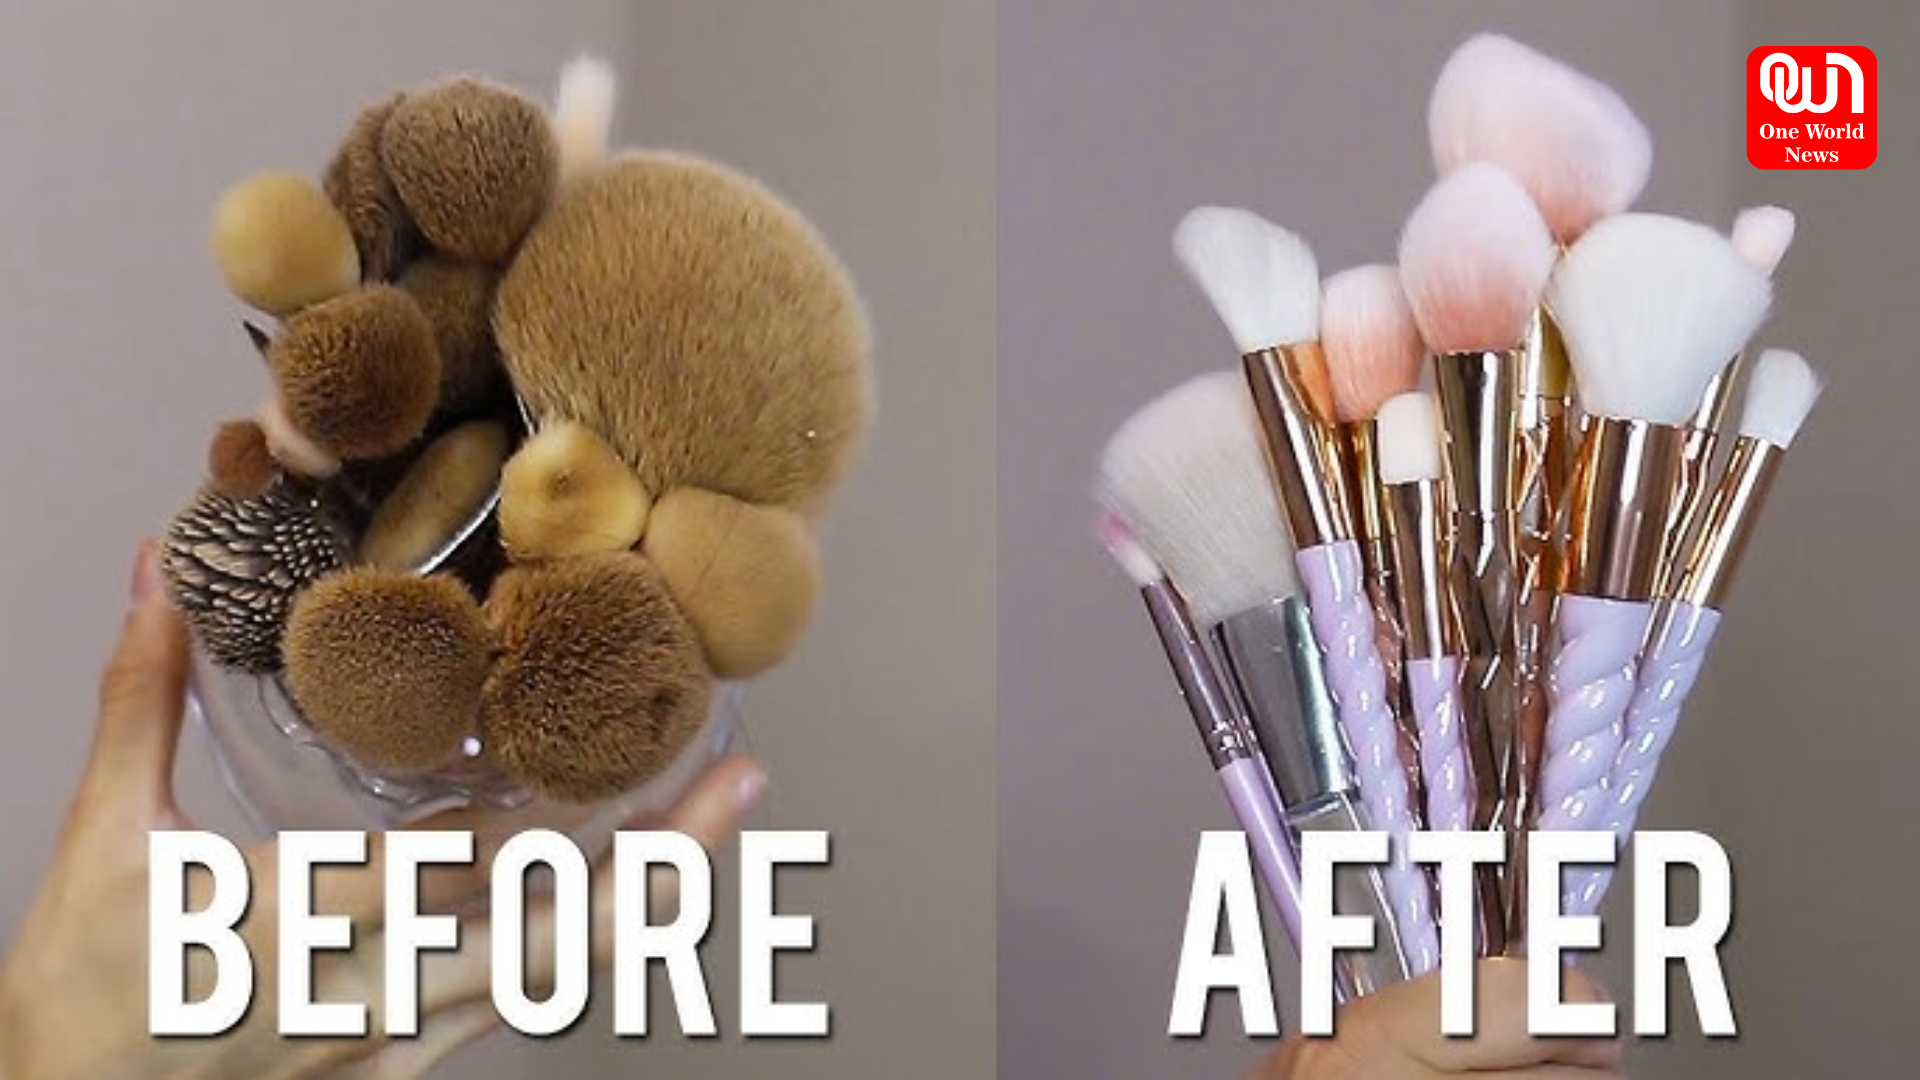
Any beauty enthusiast’s best friend is a makeup brush but if not cleaned frequently they can also serve as a haven for bacteria, grime and oil. Understanding how to clean your brushes at home is crucial for keeping your skin healthy and applying makeup flawlessly regardless of your level of experience.
Here’s everything you need to know why it’s important to clean your brushes and how to do it properly from the comfort of your own home if they’re starting to show signs of wear and tear.
Reasons for Cleaning Your Makeup Brushes
Consider your makeup brushes to be like your toothbrush: you wouldn’t use them regularly without cleaning them would you? Here’s why routine cleaning is essential:
- Avoids Breakouts- Unclean brushes gather bacteria oil and leftover makeup which can clog pores and result in acne or skin irritation.
- Extends Brush Life- Cleaning keeps bristles in good condition by avoiding fraying and shedding.
- Better Makeup Application- Applying makeup more accurately and smoothly is possible with clean brushes because they blend better.
- Keep your Products Safe- Unclean brushes can contaminate your entire makeup kit by reintroducing bacteria into your eyeshadow powder or foundation.
Experts advise washing your eye and face brushes every two to three days and once a week respectively if you use them frequently.
The Complete Guide to Brush Cleaning at Home
Expensive products and high-end equipment are not necessary. Most likely your bathroom or kitchen already has everything you need.
You Will Need the Following
- A mild shampoo or baby shampoo (or if you have one a brush cleanser)
- Optional: coconut oil or olive oil which helps remove thick makeup
- Warm water in a bowl
- A fresh towel
- A silicone cleaning mat or your palm
STEP 1 Wet the Bristles
To prevent water from getting into the handle and gradually loosening the glue, run the brush bristles under lukewarm water while keeping the brush head pointing downward.
STEP 2 Add Cleaner in Step Two
Put a few drops of shampoo and a little water in a bowl or right in your palm. Add a drop of oil to your brush if it’s extremely filthy, especially if it’s used for foundation or cream products.
STEP 3: Swirl and Create Lather
Using your palm or the mixture gently swirl the brush. You’ll observe the old makeup dissolving and fading. Continue swirling until the water is largely clear.
STEP 4 Rinse Well
With the brush head pointing down, rinse the bristles under fresh water once more. Verify that all soap and residue have been eliminated.
STEP 5: Dry and Reshape
Reshape the bristles with your fingers gently squeeze out any extra water with a towel and then place the brush flat on a fresh towel to air dry. For even drying and shape retention hang the brush head just a little bit off the edge of a counter.
Read More : Earth Day: A Global Wake-Up Call to Protect Our Planet
The Things Not to Do
- Soaking the entire brush can harm the glue inside.
- Hot water weakens the bristles so avoid using it.
- When they are drying avoid standing them upright as water can seep into the handle and lead to mold growth or breakage.
Easy-to-Make Brush Cleaner that Cleans Quickly
Particularly for eye brushes for a fast in-between clean.
- In a spray bottle combine water and rubbing alcohol in equal amounts.
- Lightly rub your brush over a paper towel after spritzing onto it.
- Allow it to air dry; it disinfects and dries quickly.
Read More : Summer in a Glass: Sip Your Way to a Cooler Season
Clear Skin Clean Brushes Perfect Finish
Although brush cleaning may seem like a chore it’s actually one of the simplest ways to take care of your skin and your equipment. You can maintain your makeup skills and brushes in top condition with a little weekly effort.
Check your brushes the next time your skin is acting up or your highlighter appears patchy they might need a spa day!
We’re now on WhatsApp. Click to join.
Like this post?
Register at One World News to never miss out on videos, celeb interviews, and best reads.


